Setting up a custom world on your Minecraft server might seem intimidating, but it’s actually quite simple! In this Blogpost, we’ll guide you through to uploading your own World to your server or setting a custom seed, to really have control over of which world youre gonna get.
Setting Up a Custom World or Seed on Your Own Server
This guide will walk you through setting up your own world or custom seed. We will start with the easier option of the two—setting up your own custom seed.
Setting up a Seed in your Minecraft Server
1. Head on to your Pterodactyl Panel
Go to https://panel.BoxSRV.net and log in to your account.
2. Open your Server
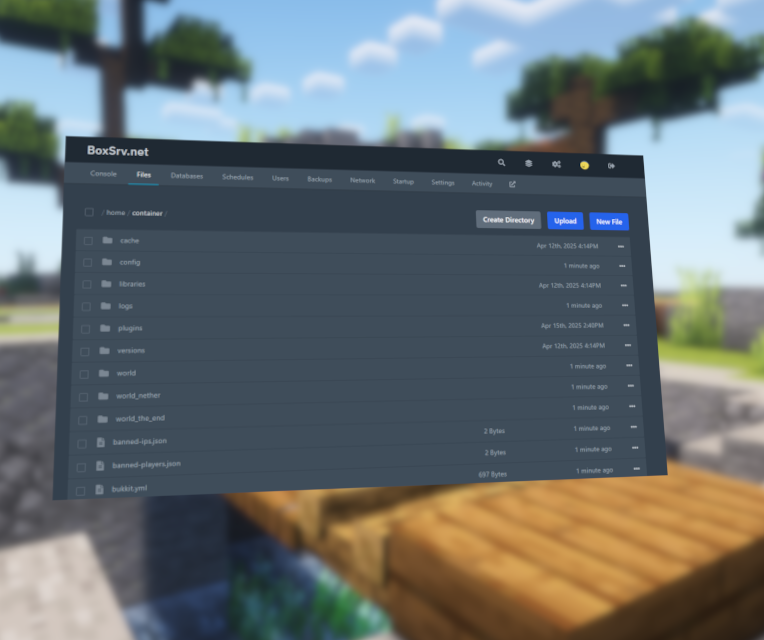
Navigate to the server you want to set a seed. Then, go to the Files submenu and open the server.properties file.
3. Adding the seed to your server.properties file
In the server.properties file, find the line that starts with:
level-seed=
If it’s empty (which it usually is unless previously changed), paste your desired seed after the =. Do not forget to save the file!
4. Delete the Existing World Folders
As we have now set a seed, we need to make sure we actually create our world with this seed. To do this, we need to delete the world files that were generated with an randomized seed. Lets get right to it.
Go back to your main server folder (usually called container). Locate and delete the following folders:
worldworld_netherworld_the_end
Deleting a folder is quite simple, right click the folder and hit the “Delete” option.
5. Restart your server
Start your server, after the start up join it. To confirm that your seed is used, you can use the /seed command to see, what seed is used, if done correctly it should be your seed that you entered into the level-seed option in the server.properties file!
Uploading a World to your server
1. Delete the existing World Folder
To add a custom world, you will need to delete the old one, exactly this we will now do.
You’ll need to open your pterodactyl panel and go to your desired server.
There, you open the files submenu and search for a “world” folder. Right click the folder and hit the delete option.
2. Find and Prepare Your Custom World
Find your custom world folder on your computer. Once found, compress it into a .zip file using either windows’s Archive function or for example 7-ZIP.
You will need to do this because you cannot upload a folder to your server, only files.
3. Upload the World to Your Server
Head back to your server’s file manager and upload the zipped world folder in to your main server directory (usually called container)
4. Unzip the Custom World
After uploading, right-click the zip file in your server files and select Unarchive. Your custom world folder will now appear. You can delete your zip file afterwards, but make sure your world folder has actually found your way in to your server.
5. Rename the Custom World Folder
As of now, your custom world is probably called something different then “world”. As you might recall, we deleted the world folder at the start of this section. Now, we need to replace that deleted world folder with your world that you just uploaded. We can do this by renaming the folder.
Find your uploaded world folder and rename it to “world”. Then, start your server.
If done correctly, your server should now have your custom world!
That’s it! Setting up a custom Minecraft world or seed on your server is easier than you think, and with this extensive guide, everyone can experience uploading their own worlds. Enjoy your newly imported world and happy crafting!