Running a Minecraft Survival Multiplayer (SMP) server for a few friends shouldn’t be expensive or even a gamebreaker if there is no money. At BoxSRV.net, we’ve built a hosting solution that balances performance, reliability, and… price. If there is no money thats not an issue for us. We’re very happy if you still build up your SMP on our Network. BoxSRV is the provider for free minecraft server
The following Parts will explain to you in full detail how you can get your free minecraft server.
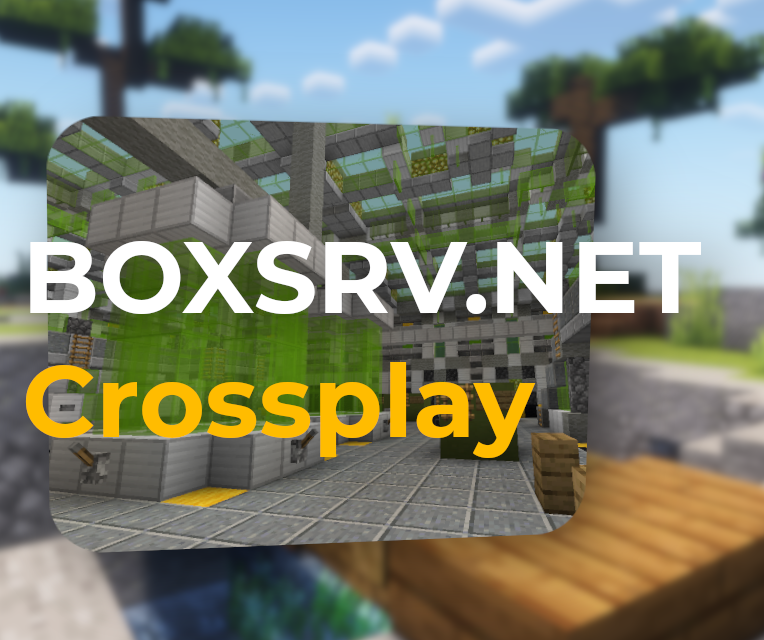
Welcome to the heart of BoxSRV!
We know how confusing big web-panels etc. can get. That is why we created an easy to use System to create, start and manage your whole Server just from ingame of Minecraft (btw. no matter if Bedrock oder Java Edition, we support crossplay out of the box for all Servers!)

Step 1 – Open the Server Manager.
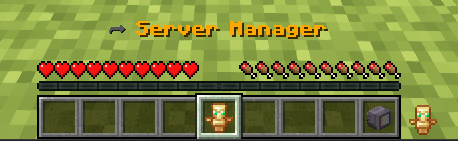
The “Server Manager”-Tool is your new best friend on BoxSRV. The Gamepad that lets you claim your first Server, explore the ingame Serverlist or just manage your various Server-Instances (Boxes)
Step 2 – Take a look into the Server Manager
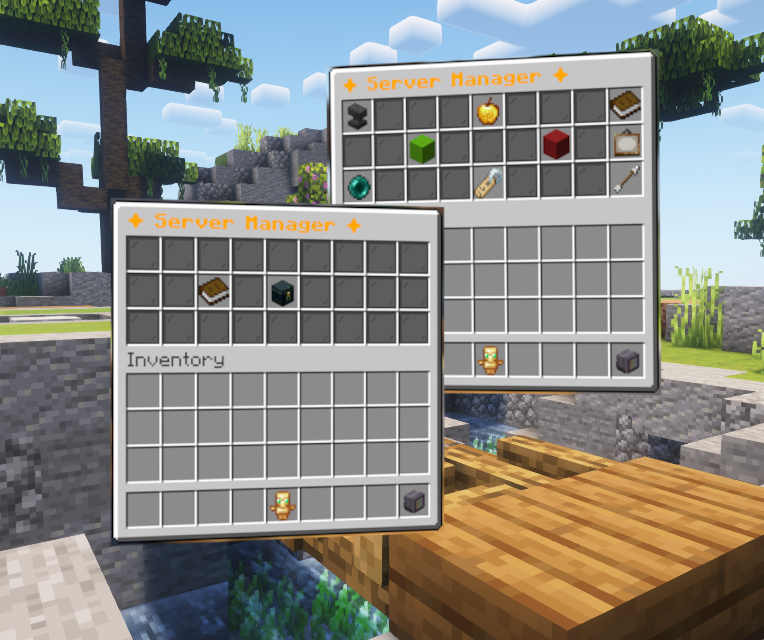
When you open the “Server Manager” you will see 3 Items.
- The Book
This is the Ingame-Serverlist showing you all visible Boxes that you alone or you and your friends can play on together. - The Chest
To manage or if no server yet claim your first box - The Banner
This Item will guide you how to find support.
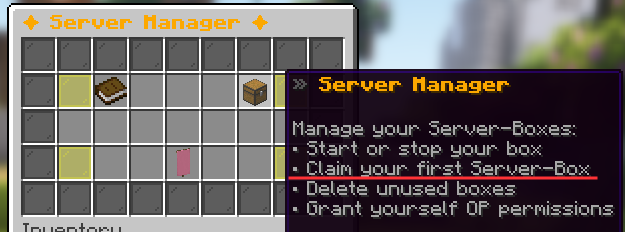
Step 3 – Claim your first Box
In this Paragraph we will claim your first Box. After pressing on the Ender-Chest your will notice a loader comes up, this means your Server will load up and be managable via the same GUI from now on
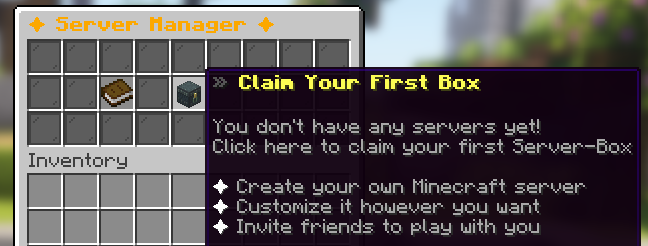
That’s it! You now have a free Minecraft server, all for yourself and your friends. It comes with 3GB of RAM and 10GB of disk space. What more could you ask for? Okay well.. maybe you want to install some Plugins.. thats what we will do now!
Access the Server, modify/install Plugins etc.
This Paragraph will teach you how to install Plugins, modify your Server files and overall get access to your Serverfiles.
Join BoxSRV.net again. If you are already on the Network, for example in your Box. Just type /hub. This will always bring you back to the Main-Hub where you will be able to manage your Boxes.

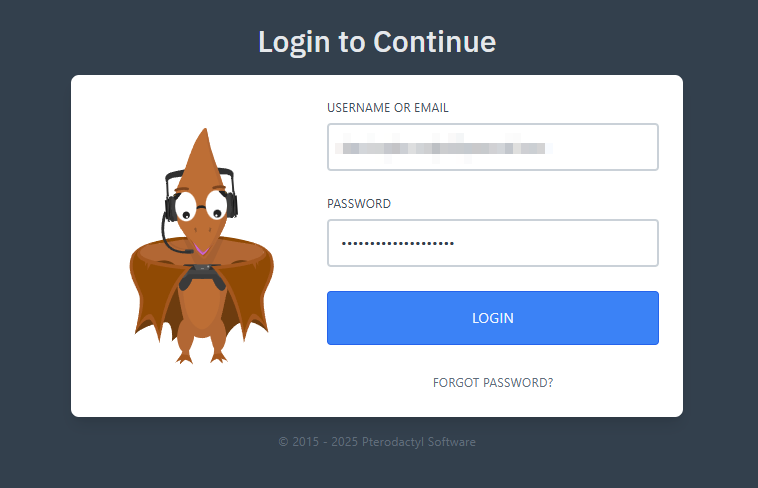
To give you access to your Box in the Pterodactyl-Panel we need you to create an Account. As always this is easily done via a simple Minecraft Command:
Type /link in the Chat and it will prompt you that you need to insert your E-Mail Address./link <Email Address>
After submitting the Link-Command you will see a bunch of messages. You should screenshot them as they contain your autogenerated password.
Finally we select a Web-Browser of our liking. Supported is Chrome, Firefox, Vivaldi and Brave.
We’ll use Vivaldi for this example.
Type the following URL into the address bar and hit enter:
https://panel.boxsrv.net

Welcome on Pterodactyl!
After ending on the login-form make sure to enter your email and the previously generated password, then press login.
Forgot your password because you didn’t screenshot is as suggested? Dont worry. You can just press forgot password and generate a new one.
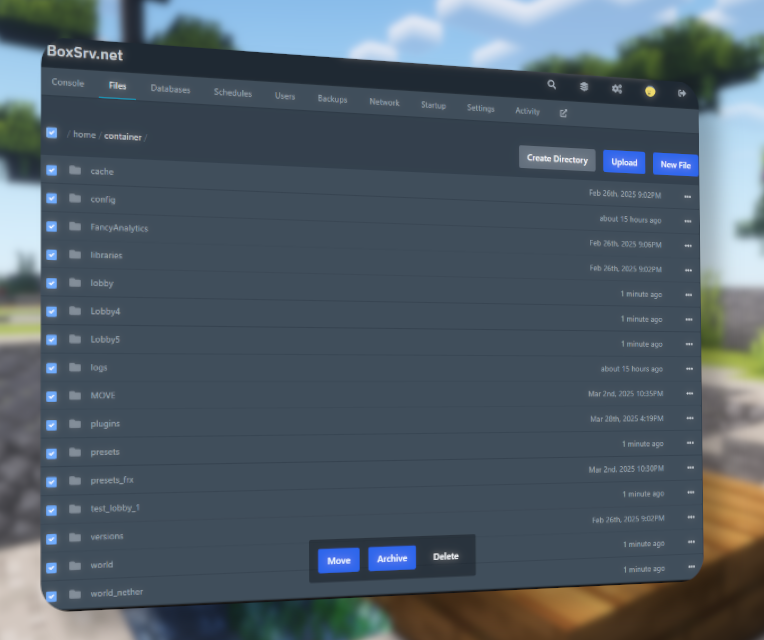
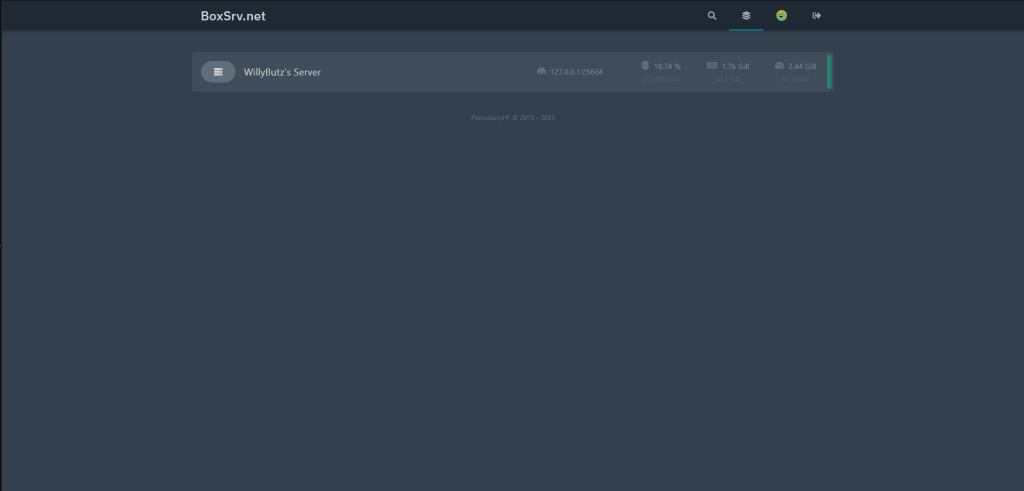
You now got redirected to your personal Frontpage. This is where all your (or the boxes you got added as subuser) boxes are listed. Make sure to click on the Box you want to modify.
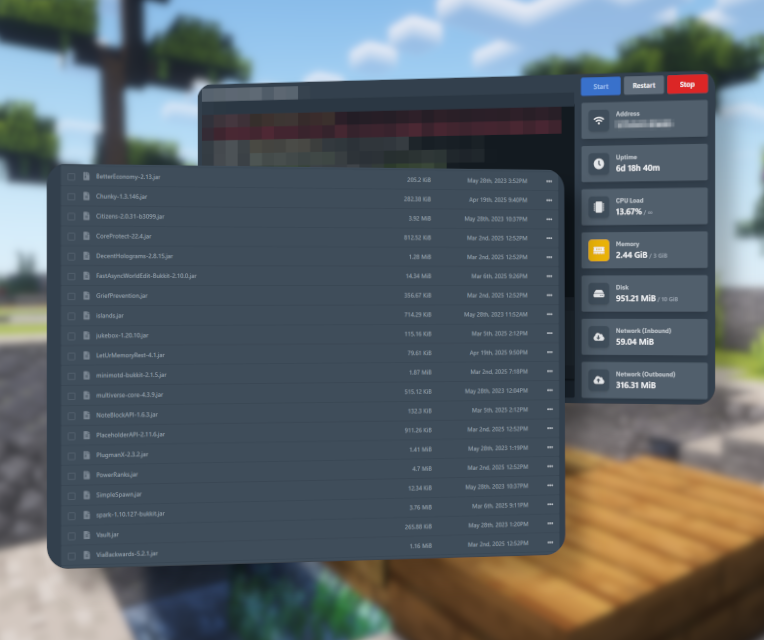
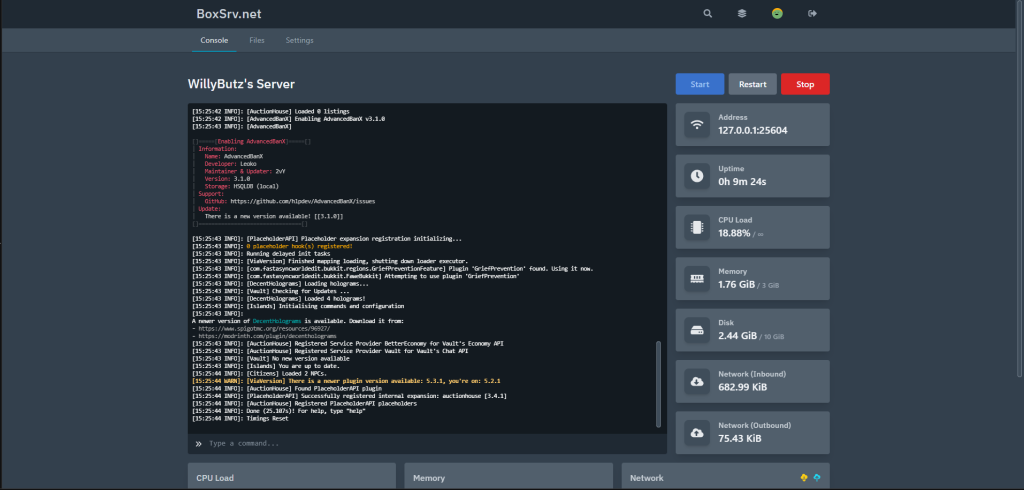
You are now in front of the Console of your Box. Here you can execute all the Admin Commands you need, restart the Server etc.
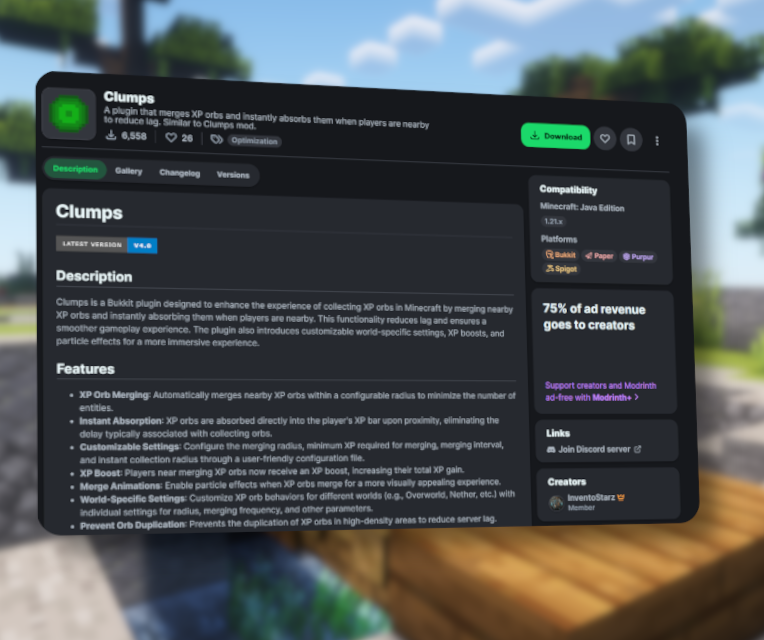
To add some plugins, go download them from Modrinth.com
(or any page of your choice).
Go back to your server in the dashboard and click on “Files” in the navigation.
Note: Your server must be started at least once before doing this!

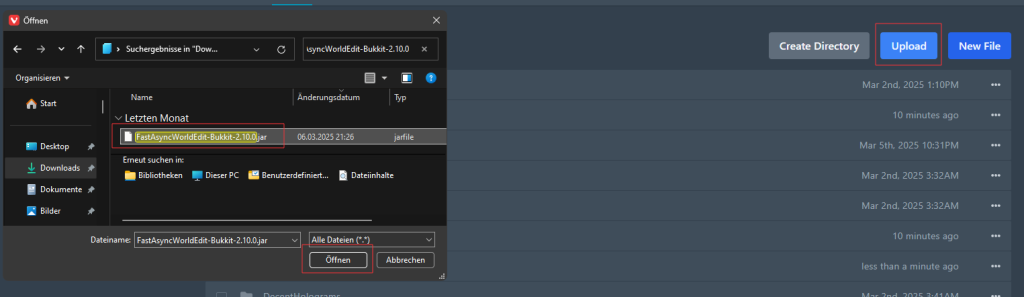
Find the folder named “plugins”.
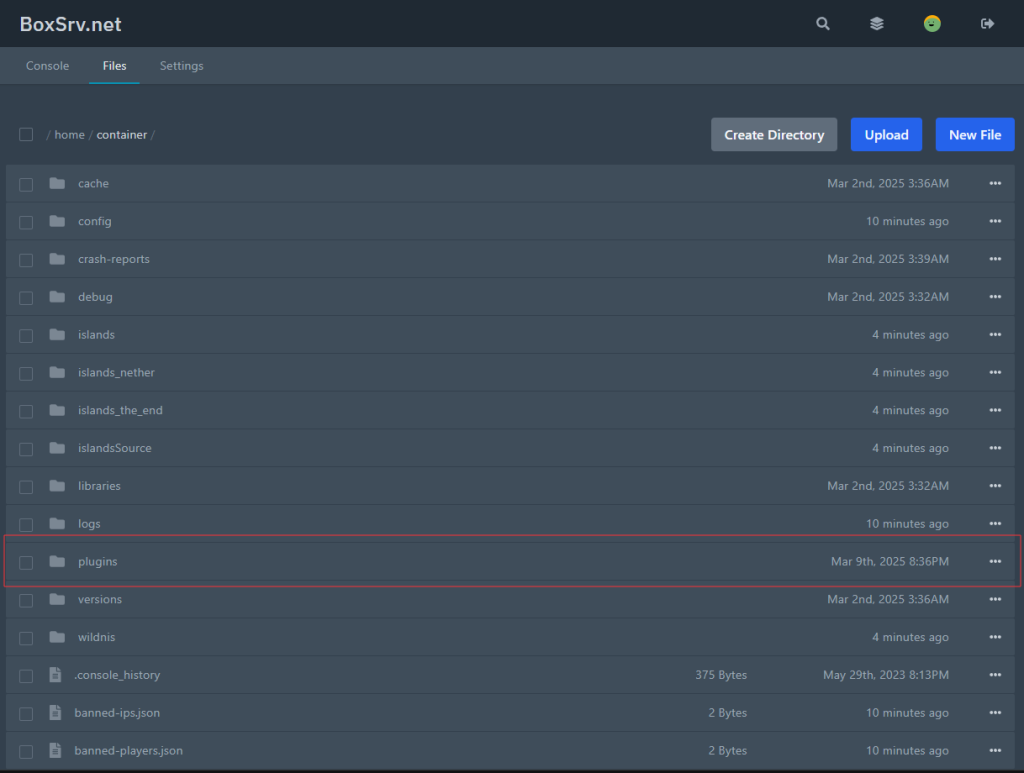
Click the “Upload” button and select your plugin .jar file to upload. Please make sure that the Plugin comes from reliable sources as you are responsible for the content you install on your box. We recommend PaperMC Hangar or Modrinth.com
Done!
After following the above steps carefully you should by now have a fully functioning server where you have successfully installed your first plugin! And it didn’t even cost a single dollar! How cool is that? 🤩
Encountered any bugs or issues? Or you have some nice Feedback? Make sure to join our Discord Server so we and our lovely community can take a look! https://discord.gg/55PZrB7pWY