In this short article we’ll show you how to create your own MOTD (Message of the day) on your minecraft server.
Still using and seeing the default “A Minecraft Server” on your subdomain? Let’s change that with a powerful and easy-to-use plugin!
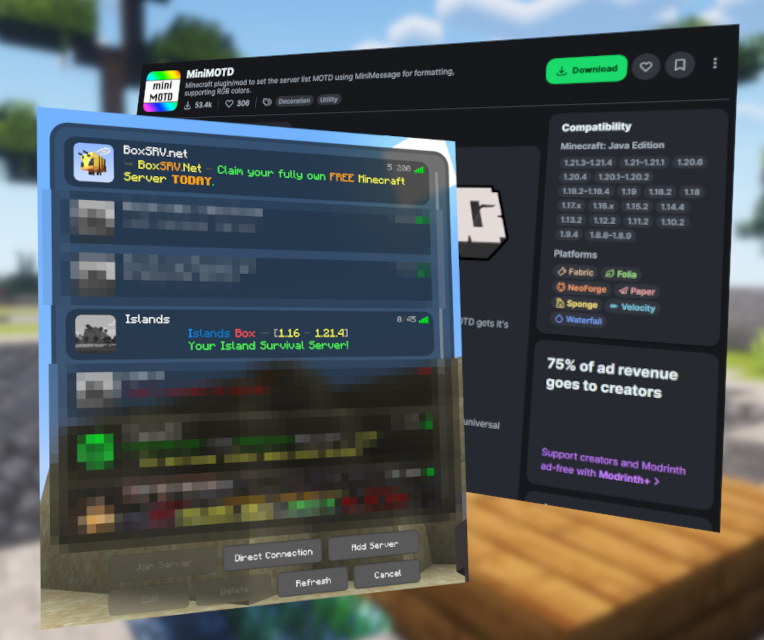
In this guide, we’ll show you how to customize your Minecraft server’s MOTD using the MiniMOTD plugin from Modrinth.com.
Plugin for MOTD customization
It is very easy to do what you want. You’ll just have to use a plugin for that. But don’t worry, we’ll guide you through all steps!
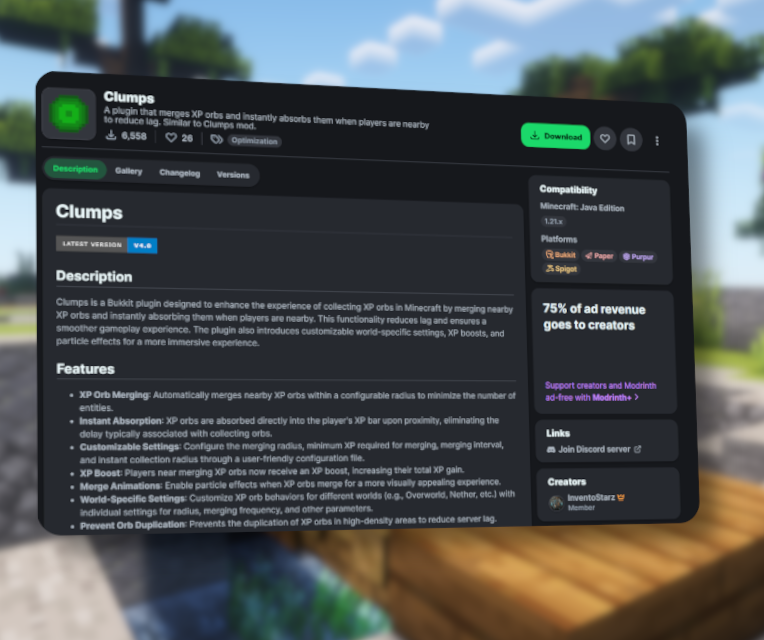
Download the MiniMOTD Plugin
First, head over to the MiniMOTD Plugin page on Modrinth and click Download. Be sure to select the Paper version that matches your Minecraft server version. In case you are not sure, you can see your version with the help of the /version command in your gameservers console.
Install the Plugin on Your Server
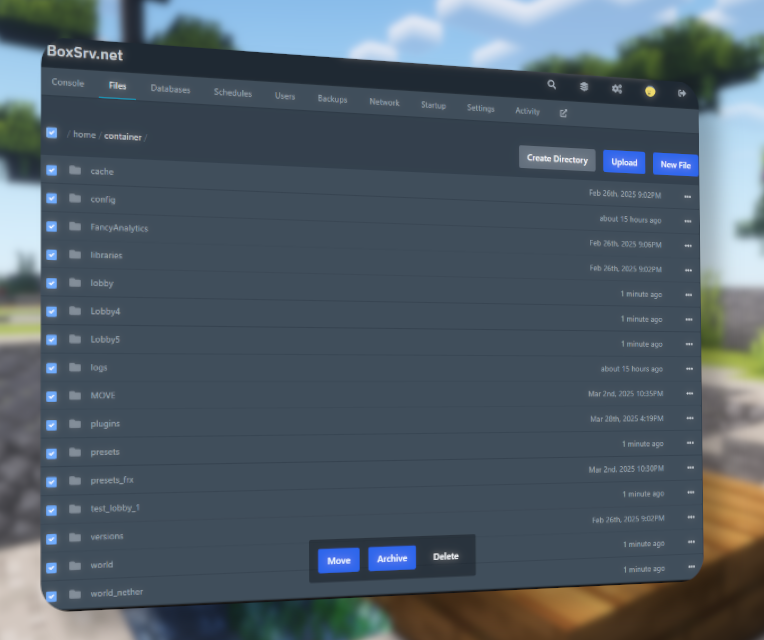
- Open your server control panel.
- Select your desired server instance.
- Navigate to the server files and open the plugins folder.
- Upload the downloaded
MiniMOTD.jarfile into this folder.
Configure MiniMOTD
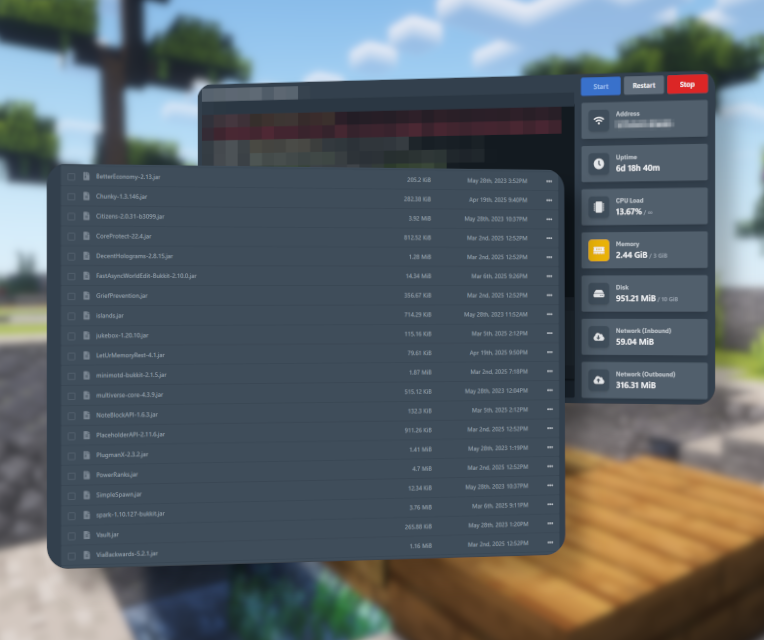
Before configuring, start or restart your server at least once after uploading the plugin, to allow it for proper initialization. If installed correctly and compatible with your server version, a new MiniMOTD folder will appear inside your plugins directory.
Inside the MiniMOTD folder, you’ll see a bunch of files:
icons(folder)main.confplugin_settings.conf
For now, ignore plugin_settings.conf and icons.
Edit the MOTD in main.conf
Now we can get creative. It’s time to find the perfect MOTD for your minecraft server.
- Open the
main.conffile. - You’ll see two lines:
line1=line2=
These represent the two lines of your Minecraft MOTD.
Customize Your MOTD with colors
- To add color, use HEX color codes (e.g.,
#0099FF). - Surround HEX codes with angle brackets, like
<#0099FF>, to apply the color correctly. - Insert your custom message and colors between the quotation marks.
Example:
line1="<#0099FF>Welcome to My Server!"
line2="<#00FF99>Enjoy your stay!"
Save and Reload the Plugin
After making your changes:
- Save your edited configuration.
- Run the command
/minimotd reloadin your server console or in-game.

Now, check your server list. Your custom, colorful MOTD should appear!
Customizing your Minecraft subdomain’s MOTD adds a unique touch to your server and helps attract more players. With MiniMOTD, it’s quick, easy, and totally worth it.
Done with that? Head over to our tips and tricks, such as on how to get every bit of performance from your minecraft server.