You wonder what Datapacks are? Datapacks are almost like plugins, but they rather are Scripts then real plugins. They are full vanilla and are moved into the worlds datapacks folder, not like plugins that belong in the plugins folder. In this Blogpost, I will tell you how to install a datapack, specifically Vanilla Refresh. Vanilla Refresh like the name tells, “Refreshes” the vanilla gameplay of Minecraft, adding little nics and nacs that improve features during your gameplay.
Vanilla Refresh is focused around survival, so it might be recommended to use this datapack on Survivalesk servers. We also go into detail about how to configure most datapacks. For now, lets dive in!
1. Getting the Datapack ready
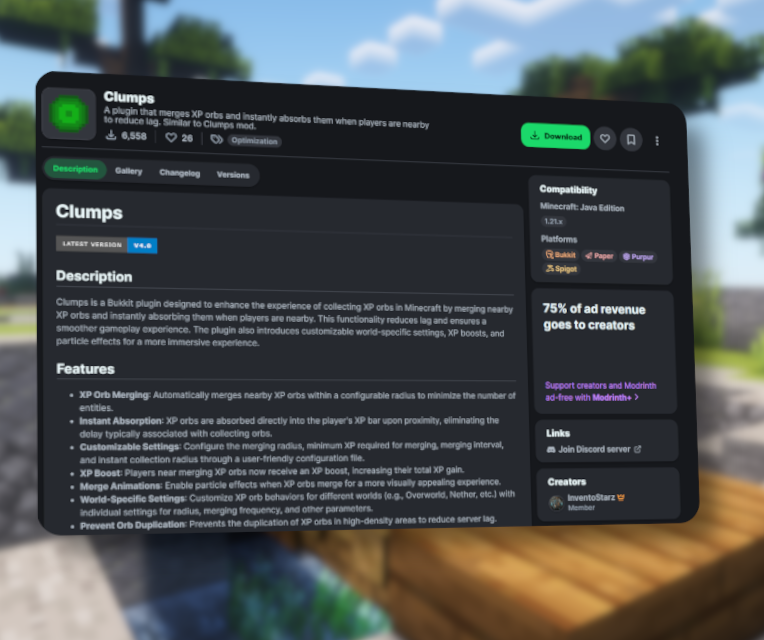
Lets get our hands on the Datapack ZIP (ZIP is a compressed folder). To download it, click here.
On the page, click on the big green download button, select your desired server version and platform, as we install this as a datapack, you’ll need to select “Data Pack”. Select the version that fit your server.
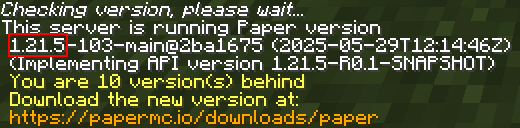
If youre unsure about your servers minecraft version try the /about command on your server, there you’ll see some basic information and your servers version.
2. Opening your world folder
Go to https://panel.boxsrv.net and log in using your BoxSRV panel credentials.
(Don’t have an account? Check out our guide on how to get your first Free Minecraft Server!)
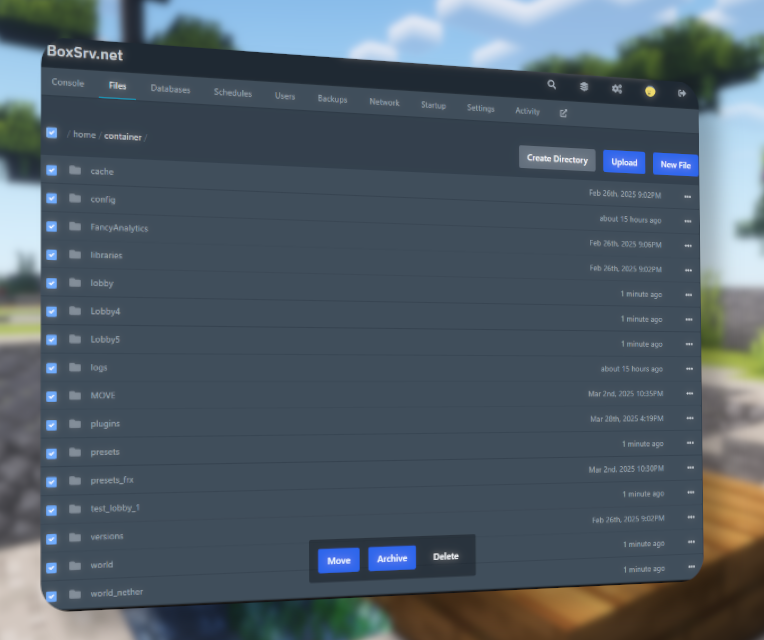
Inside the panel, choose your server and open the server files.
Look for your main world folder—by default, it’s usually named “world”
Open it and you are already there!
3. Loading the Datapack into your server
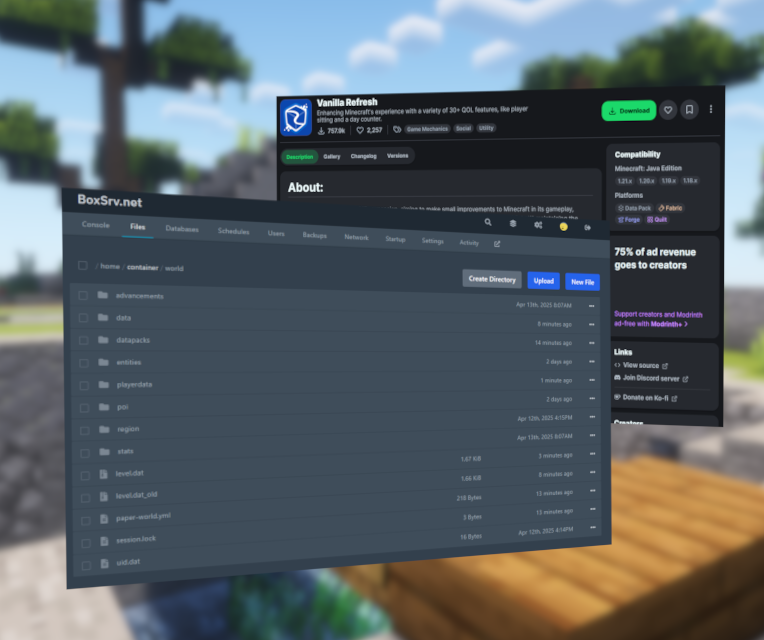
Seeing your world folder, there should be a folder named “datapacks”.
You’ll want to upload your datapack zip there, open it, and then click on the “UPLOAD” button in the top right corner!
Now, select and upload the ZIP file you’ve downloaded earlier—don’t unzip it! Upload the ZIP file as-is.
4. Restart and Test
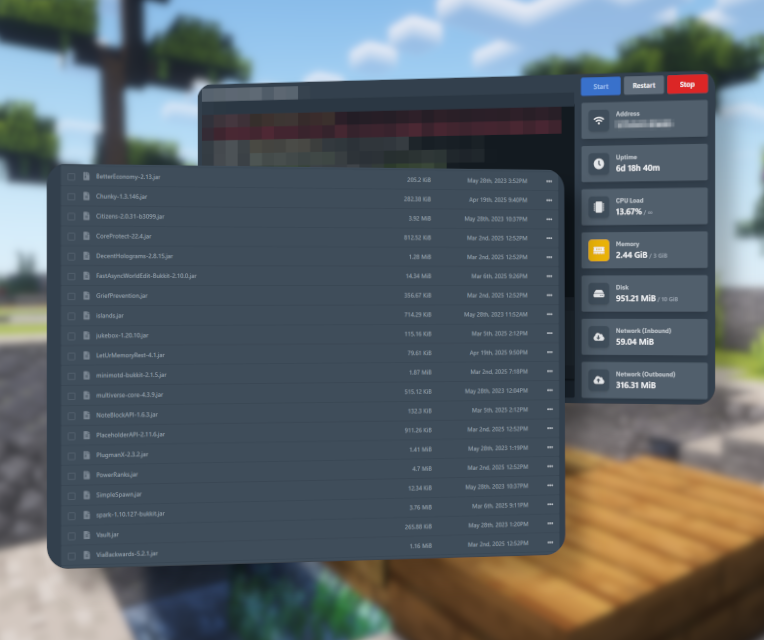
Now that the datapack is in place, it’s time to restart your server.
Head over to the console and click on the “Restart” button. Now, your server is restarting.
Once the server is back online, join your server!
If you’ve installed Vanilla Refresh correctly, you should immediately see a “Day Counter” pop up above your hotbar!
5. Configuration of the Datapack
Vanilla Refresh makes configuration super easy, its all based on one command, and from there, its just clicks! Lets get right to it!
Open the chat with pressing T (default) and type:
/function vanilla_refresh:_settings
The first time you run this command, you’ll get a quick description of the settings menu. Click “Continue” in chat to proceed.
Now you’ll see different Settings Categories. You can navigate the menu using your mouse—hover over the 🛈 icon for info about each option.
Woah! You’ve just successfully installed a Datapack on your very own Minecraft server! Have fun!
Any other datapack installs the same way. Just note: configuration steps may vary depending on the complexity of the datapack.